
Oct 8, 2026Buying Guides
Ultrasonic Cleaning Test: How to Prepare Sample Parts Before Choosing a Machine
Learn how to prepare sample parts for ultrasonic cleaning testing before choosing a machine, including material, contamination, loading, chemistry, rinsing, drying, and test evaluation.
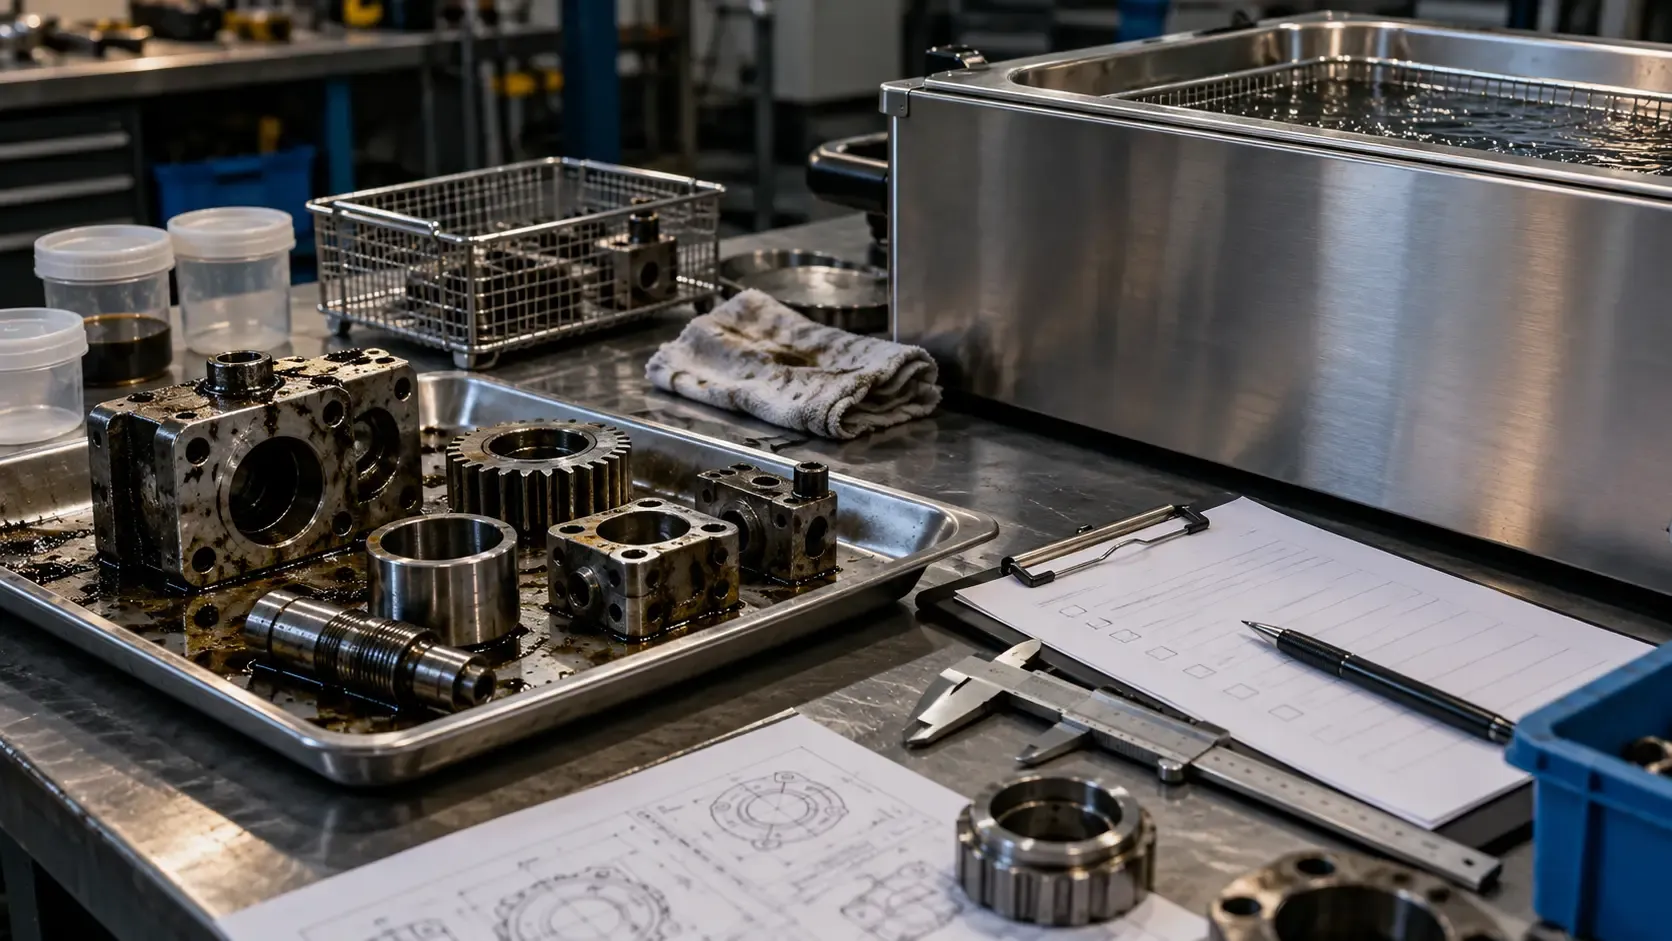
Many buyers make the costly mistake of choosing an industrial ultrasonic cleaner based mainly on tank size, power, or price.
The problem is that a machine can be large enough to hold the part, but still fail to remove the specific oil, carbon, polishing compound, chips, or residue trapped inside holes, threads, grooves, or internal passages.
This is why sample cleaning testing matters.
An ultrasonic cleaning test is not just a quick demonstration. It is an engineering diagnostic step used to understand the part, contamination, chemistry direction, cleaning process, loading method, rinsing, drying, filtration needs, and equipment configuration before a machine is selected.
A good test helps answer a practical question:
Can this cleaning result be repeated in a real production process?
When Is Ultrasonic Cleaning Testing Useful?
Sample testing is useful when the cleaning result cannot be judged from specifications alone.
Testing is especially valuable when parts have blind holes, internal channels, fine threads, deep grooves, complex geometry, or surfaces that are difficult to reach by manual cleaning. It is also useful when contamination is aged, baked-on, sticky, oily, mixed with particles, or trapped inside small features.
A test may also be needed when the cleaned part must go directly to a downstream process such as assembly, coating, inspection, packaging, or precision manufacturing.
In these cases, the goal is not simply to prove that ultrasonic cleaning can make a part look cleaner. The goal is to determine whether a practical cleaning process can be built around the part, contamination, required result, and production volume.
What a Cleaning Test Can and Cannot Prove
A sample cleaning test can show whether ultrasonic cleaning is promising for a specific part and contamination condition. It can also help identify a suitable process direction, such as cleaning chemistry, frequency direction, temperature range, cleaning time, filtration, rinsing, drying, and handling method.
However, a sample test should not be treated as a universal guarantee.
A test result depends on the sample condition, contamination level, cleaning liquid, temperature, time, part loading method, rinsing, drying, and inspection method. Production conditions may also differ from a small test because batch quantity, basket loading, contamination accumulation, and bath maintenance can affect the result.
The purpose of testing is to reduce uncertainty and guide equipment selection, not to replace proper production validation.
Prepare Samples Like a Controlled Experiment
Do not treat sample testing like a blind trial.
If possible, prepare sample parts that represent different real production conditions. This helps the supplier evaluate both normal cleaning needs and difficult edge cases.
A useful sample set may include:
- Typical sample: a part with the normal contamination condition seen in daily production
- Worst-case sample: a part with heavier, older, dried, carbonized, or more difficult contamination
- Target sample or benchmark: a part that already meets your required cleaning standard, if available
The benchmark part is especially useful because it shows the expected final condition. For example, if parts must be clean enough for coating, assembly, inspection, or packaging, the supplier needs to understand what “acceptable” means in your process.
Do not send only the easiest part to clean. The test should help evaluate the real cleaning challenge.
Explain the Part Material and Surface Condition
Part material matters because ultrasonic cleaning is not only a physical process. The final result also depends on chemistry, temperature, exposure time, and surface compatibility.
Before testing, provide the part material, such as stainless steel, carbon steel, aluminum, brass, copper, titanium, plastic, ceramic, glass, or mixed materials.
Also mention any surface condition that may affect cleaning, such as polishing, coating, plating, oxidation, paint, anodizing, heat treatment, or dimensional sensitivity.
This is especially important for aluminum, polished surfaces, coated parts, precision components, electronic parts, and mixed-material assemblies. A process that works well for one material may not be suitable for another.
If the material is uncertain, say so clearly. The test can then be approached more cautiously.
Describe the Contamination Clearly
The contamination is often more important than the machine size.
Before a cleaning test, describe what needs to be removed. Common examples include cutting oil, grease, carbon deposits, polishing compound, metal fines, chips, dust, flux residue, coolant, rust, wax, adhesive residue, or mixed contamination.
It is also useful to explain whether the contamination is fresh, dried, aged, baked-on, sticky, oily, powdery, or trapped inside holes and channels.
This matters because ultrasonic energy helps loosen contamination, but the cleaning chemistry often determines whether oil, carbon, polishing compound, or residue can actually be broken down and removed.
In many industrial applications, the equipment provides physical cleaning energy while the cleaning solution provides chemical action. If the chemistry direction is wrong, increasing ultrasonic power alone may not solve the problem.
Define the Required Cleaning Result
A cleaning test needs a target.
“Clean” can mean different things in different industries. For one buyer, visually clean may be enough. For another, the part may need to be suitable for coating, assembly, inspection, packaging, or a precision manufacturing step.
Before testing, explain what result is required after cleaning.
Useful questions include:
- Is visual cleanliness enough?
- Does oil residue need to be removed?
- Must particles inside holes, threads, or channels be removed?
- Does the part need to be dry after cleaning?
- Will the part go to coating, assembly, inspection, or packaging?
- Are water marks, detergent residue, or corrosion risk a concern?
The more clearly the target is defined, the more useful the test result becomes.
Consider Loading, Fixturing, and Ultrasonic Shadowing
A cleaning test should also evaluate how the parts are placed inside the basket or fixture.
If parts are stacked too tightly, overlap each other, or block access to holes and surfaces, ultrasonic energy and cleaning liquid may not reach every area evenly. This can create ultrasonic shadowing, where one part or surface blocks effective cleaning action from reaching another area.
This is why testing is not only about chemistry and machine power. It can also help determine:
- how parts should be loaded
- whether a basket or fixture is needed
- how many parts can be cleaned per batch
- whether parts need spacing between them
- whether rotation, agitation, lifting, or repositioning may be useful
This information affects equipment size and budget. A part may clean well when tested alone, but production equipment must also support the real loading quantity and handling method.
Provide the Current Cleaning Method
If the parts are currently cleaned by manual brushing, solvent washing, soaking, spraying, pressure washing, parts washer, or another method, explain the current process.
This helps the supplier understand what problem the ultrasonic cleaning test is expected to solve.
For example, the current method may be too slow, inconsistent, labor-intensive, difficult for blind holes, unsafe due to solvent use, or unable to meet the required cleanliness.
The goal is not always to replace the current process completely. In some cases, ultrasonic cleaning becomes one stage in a larger process that still includes rinsing, drying, filtration, or inspection.
Share Batch Quantity and Production Requirements
Sample testing focuses on cleaning result, but equipment selection also depends on production requirements.
A sample may clean well in a small test tank, but the final machine still needs to handle real batch size, part weight, basket dimensions, cycle time, and daily production volume.
Before or during testing, provide:
- maximum part dimensions
- part weight
- quantity per batch
- expected batches per hour or per day
- basket or fixture requirements
- whether manual loading is acceptable
- whether lifting or automation may be needed
This information connects the test result to a realistic equipment configuration and budget direction.
Consider Rinsing, Drying, and Filtration
A cleaning test should not stop at the cleaning tank if the production process requires more.
After ultrasonic cleaning, parts may still need rinsing to remove cleaning chemistry or loosened contamination. They may also need drying before inspection, packaging, assembly, coating, or storage.
If the parts release large amounts of oil, metal fines, carbon, polishing residue, or other suspended contamination, filtration may also need to be considered.
These process steps can affect equipment selection. A simple single-tank cleaner may be enough for some applications, while others may require filtration, rinsing, drying, or a multi-stage system.
For related process decisions, see:
Sample Testing RFQ Protocol
When sending sample parts or requesting a cleaning test, include enough information for the supplier to understand both the part and the production requirement.
Information | Why It Matters |
|---|---|
Part material | Helps prevent unsuitable chemistry, surface attack, discoloration, or pitting on sensitive metals |
Part dimensions and weight | Helps estimate tank size, basket size, handling method, and loading capacity |
Contamination type | Helps determine cleaning chemistry, filtration needs, and process direction |
Current cleaning method | Shows what problem the ultrasonic process needs to improve |
Required cleaning result | Defines how the test should be judged |
Typical and worst-case samples | Helps compare normal production needs with difficult cleaning conditions |
Benchmark sample, if available | Shows the supplier what acceptable cleanliness looks like |
Batch quantity | Helps connect testing to real production capacity and equipment budget |
Rinsing or drying requirement | Affects whether additional process stages are needed |
Photos or drawings | Help clarify geometry, holes, channels, and possible ultrasonic shadowing areas |
Destination country and power supply | Useful when moving from test discussion to quotation |
This information does not need to be perfect at the beginning. If some details are unknown, mark them as uncertain rather than guessing.
How to Evaluate the Test Result
A successful test should be evaluated against the real cleaning objective, not only by appearance.
After testing, review whether the main contamination was removed, whether difficult areas were reached, whether the surface condition remained acceptable, and whether rinsing or drying introduced any new issues.
If the part has blind holes, threads, internal channels, or fine features, inspect those areas carefully. If the part will go to coating, assembly, or inspection, the test result should be judged against that next process.
It is also important to record what process was used during the test, including cleaning liquid, temperature direction, time, rinsing, drying, and loading method.
The question is not only:
Did the sample look clean?
The better question is:
Can this cleaning result be repeated in a practical production process?
How Test Results Affect Equipment Selection and Budget
Sample testing can directly influence equipment configuration and budget.
If the part cleans easily and does not require integrated rinsing or drying, a single-tank ultrasonic cleaner may be enough.
If contamination accumulates quickly in the bath, filtration or oil separation may be needed.
If the cleaned part still carries chemistry or loosened contamination after cleaning, a rinsing stage may be required.
If the part must be dry before inspection, coating, assembly, or packaging, drying should be considered.
If the loading method creates ultrasonic shadowing or handling problems, a different basket, fixture, lifting system, or automation method may be needed.
This is why sample testing can change the final equipment direction. It may show that a simpler machine is enough, or it may reveal that a multi-stage process is necessary to achieve the required result consistently.
Need Help Testing Parts Before Choosing an Ultrasonic Cleaner?
If you are unsure whether ultrasonic cleaning is suitable for your parts, request a Sonixmax engineering wash test discussion.
Send your part information, contamination details, photos, required cleaning result, and sample availability. If sample parts are available, Sonixmax can help evaluate the cleaning challenge and discuss a practical testing direction.
Helpful details include:
- part material
- part dimensions and weight
- contamination type
- current cleaning method
- required cleanliness
- batch quantity
- rinsing or drying needs
- photos, drawings, or sample parts if available
Sonixmax can help evaluate whether ultrasonic cleaning is suitable for your application and recommend a practical equipment direction based on the test result, part geometry, contamination, and production requirements.