Oct 10, 2026Ultrasonic Cleaning Technology
White Residue After Ultrasonic Cleaning: Why It Happens and How to Prevent It
Learn why white residue appears after ultrasonic cleaning and how to prevent it by checking detergent concentration, rinsing, water quality, blind holes, drying, bath contamination...
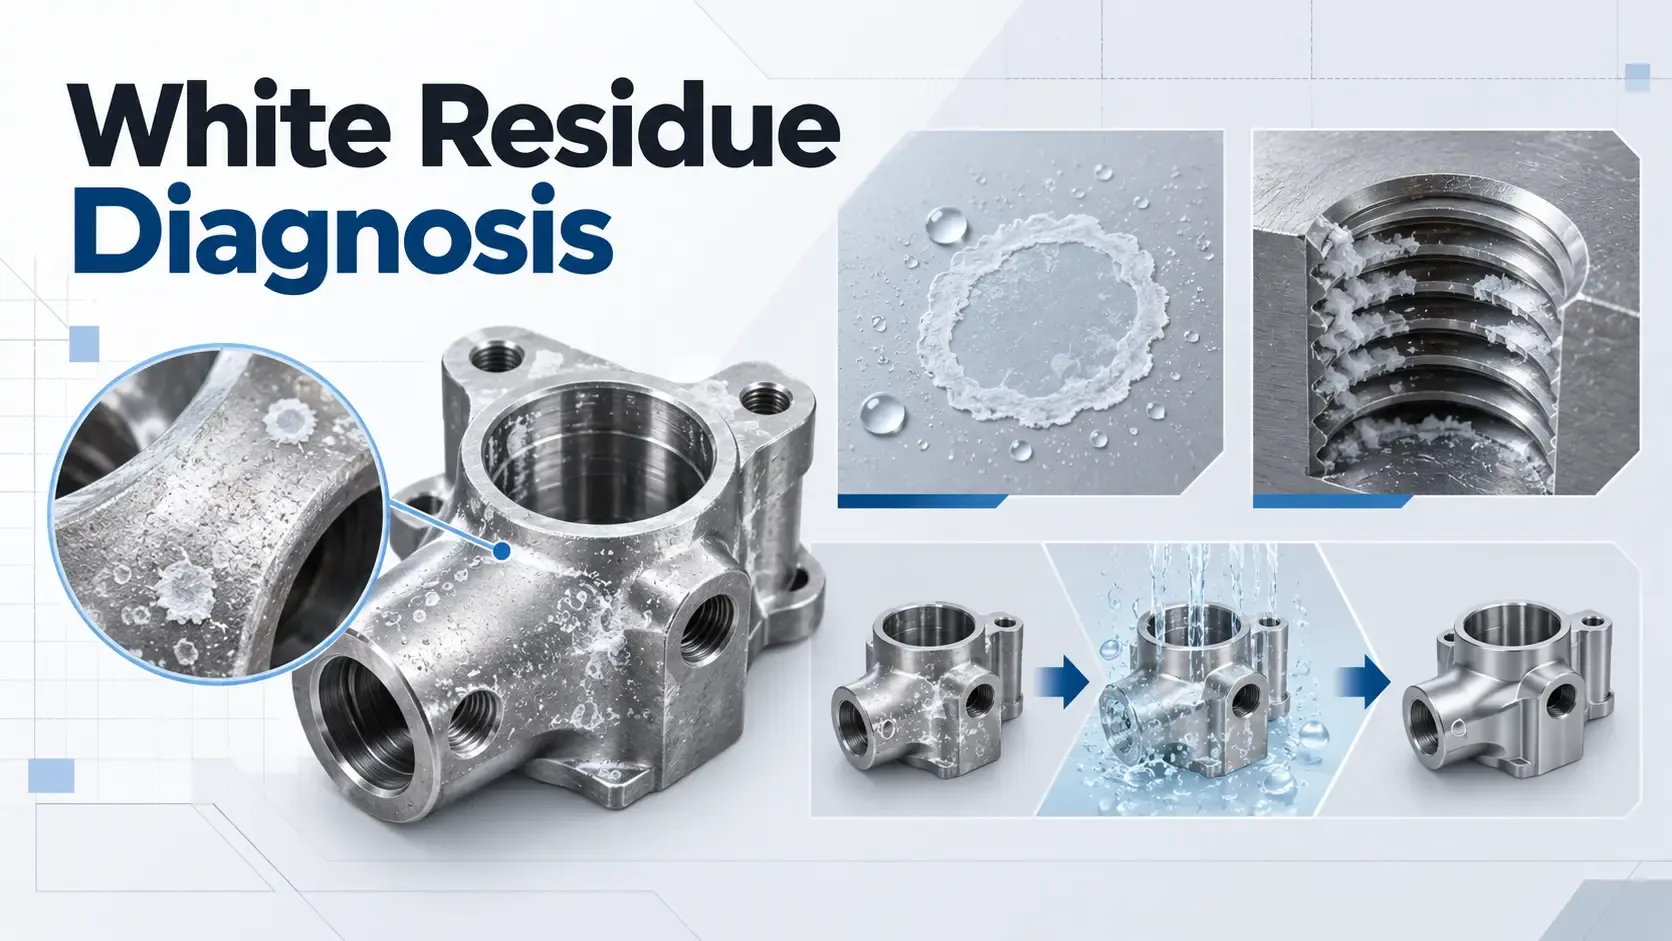
White residue after ultrasonic cleaning can be frustrating because the parts may look clean at first, but after drying, a pale film, powder, water mark, or cloudy stain appears on the surface.
This does not always mean the ultrasonic cleaner failed.
In many cases, white residue is caused by what happens around the ultrasonic cleaning stage: detergent concentration, bath contamination, water quality, insufficient rinsing, slow drying, trapped solution in blind holes, or material reaction.
This guide explains the most common causes of white residue after ultrasonic cleaning and how to prevent it without turning every problem into a machine issue.
Quick Answer
White residue after ultrasonic cleaning is usually caused by one or more of these factors:
- too much cleaning detergent
- detergent not fully rinsed away
- hard water minerals drying on the surface
- dirty bath contamination redepositing on parts
- poor rinsing after cleaning
- trapped detergent in blind holes, threads, or grooves
- slow or uneven drying
- chemical reaction with sensitive metals
- residue from the original contamination
- cleaning solution not suitable for the part material
The first step is to identify whether the residue is detergent film, mineral deposit, redeposited dirt, crystallized detergent, chemical etching, corrosion, or material discoloration.
The solution may be as simple as improving rinsing and drying, but in industrial cleaning, repeated white residue may mean the process needs better bath control, clean rinse water, filtration, or a dedicated rinsing and drying stage.
Start by Identifying the Type of Residue
Not all white residue is the same.
Before changing the machine, check the appearance and behavior of the residue.
Ask:
- Does it wipe off easily?
- Does it feel powdery, oily, sticky, chalky, or crusty?
- Does it appear only after drying?
- Does it appear on all parts or only certain materials?
- Does it appear in holes, corners, threads, or flat surfaces?
- Does it appear after every cycle or only after the bath has been used for a while?
- Does rinsing with clean water remove it?
- Does it look like staining or actual surface change?
These details help separate different causes.
If the residue wipes off easily, it may be detergent film, mineral deposit, or redeposited contamination.
If it appears only after drying, water quality or drying method may be involved.
If it appears mainly in blind holes or fine threads, trapped detergent may be crystallizing after the water evaporates.
If it appears mainly on aluminum, zinc, plated parts, or sensitive surfaces, chemical compatibility may need review.
If the surface looks dull, frosted, or permanently changed and the mark does not wipe off, the issue may not be residue at all. It may be chemical etching.
1. Too Much Detergent Can Leave Film
Using more cleaning solution does not always improve ultrasonic cleaning.
If detergent concentration is too high, the solution may leave a film on the parts, especially if rinsing is weak or drying is slow.
Over-concentrated detergent can also make rinsing harder and may leave visible streaks, white marks, or dull surface appearance after drying.
A common workshop mistake is the top-off trap.
When cleaning performance drops, operators may add more concentrated detergent to the bath instead of checking whether the bath is exhausted or should be replaced. Over time, this can push the detergent concentration far beyond the intended range.
The result is predictable: sticky film, white residue, difficult rinsing, and inconsistent cleaning.
When troubleshooting, check:
- detergent mixing ratio
- supplier instructions
- whether operators add extra detergent during the day
- whether concentration is measured or guessed
- whether rinse water is clean enough
- whether residue disappears after improved rinsing
A stronger bath is not always a better bath.
For industrial cleaning, detergent concentration should be controlled, not guessed.
2. Insufficient Rinsing Is One of the Most Common Causes
Ultrasonic cleaning loosens contamination, but it does not automatically remove all chemical residue from the part after the wash cycle.
If parts are removed from the cleaning bath and dried without proper rinsing, detergent, loosened dirt, and dissolved contamination may remain on the surface.
As water evaporates, the remaining material becomes visible as white residue, streaks, or water marks.
This is especially common when:
- detergent concentration is high
- parts have holes, grooves, or threads
- the bath is dirty
- rinse water is reused too long
- parts are dried without a clean rinse
- complex geometry traps solution
A clean rinse step is often the first thing to improve before changing the ultrasonic cleaner.
For parts with higher cleanliness requirements, rinsing may need to be separated from the washing tank.
3. The Blind Hole Trap: Detergent Can Crystallize Inside Threads and Cavities
Blind holes, fine threads, deep grooves, and internal cavities can trap concentrated detergent after ultrasonic cleaning.
This is one of the most overlooked causes of white residue.
A part may look acceptable on the outside, but trapped solution remains inside small features. When the part dries, water evaporates and leaves behind concentrated detergent or dissolved solids.
This can form:
- white powder
- crusty deposits
- hard plugs inside blind holes
- residue around threads
- stains around small openings
- contamination that appears during assembly
In production, this may be discovered too late, such as when a screw does not thread smoothly, a hole fails inspection, or residue appears after packaging.
Possible improvements include:
- orienting parts so liquid can drain
- using cleaner rinsing after ultrasonic cleaning
- flushing holes or internal channels when needed
- using compressed air carefully where appropriate
- adding a dedicated rinse stage
- improving drying before parts move to assembly or packaging
If residue repeatedly appears in blind holes, do not treat it as a cosmetic issue only. It may be a process control problem.
4. Hard Water Can Create Mineral Spots
Water quality matters.
If hard water is used for cleaning or rinsing, minerals can remain on the surface after drying. These mineral deposits may appear as white spots, cloudy marks, or chalky residue.
This problem can happen even if the ultrasonic cleaning process itself is working.
Hard water residue is often more visible on:
- dark metals
- polished surfaces
- stainless steel
- aluminum
- optical or decorative parts
- flat surfaces where droplets dry slowly
Possible improvements include:
- using cleaner rinse water
- using deionized or purified water for final rinsing when needed
- drying parts more quickly
- reducing water spots before they dry
- controlling detergent concentration
Not every application needs deionized water, but when white mineral spots are unacceptable, water quality should be reviewed.
5. Dirty Bath Contamination Can Redeposit on Parts
If the ultrasonic bath is overloaded with oil, chips, particles, polishing compound, or dissolved contamination, dirt can redeposit onto the parts.
This may look like white, gray, oily, or dull residue after cleaning.
A dirty bath can make the machine appear weak even when cavitation is working.
Signs of redeposition include:
- parts look worse after cleaning
- residue increases as the bath ages
- residue appears on multiple parts
- oil or floating contamination is visible
- particles settle at the bottom of the tank
- parts feel slippery, dull, or coated after cleaning
In this case, longer cleaning time may make the problem worse because parts remain in contaminated liquid longer.
The solution may involve:
- replacing the bath more often
- pre-cleaning heavily contaminated parts
- removing floating oil
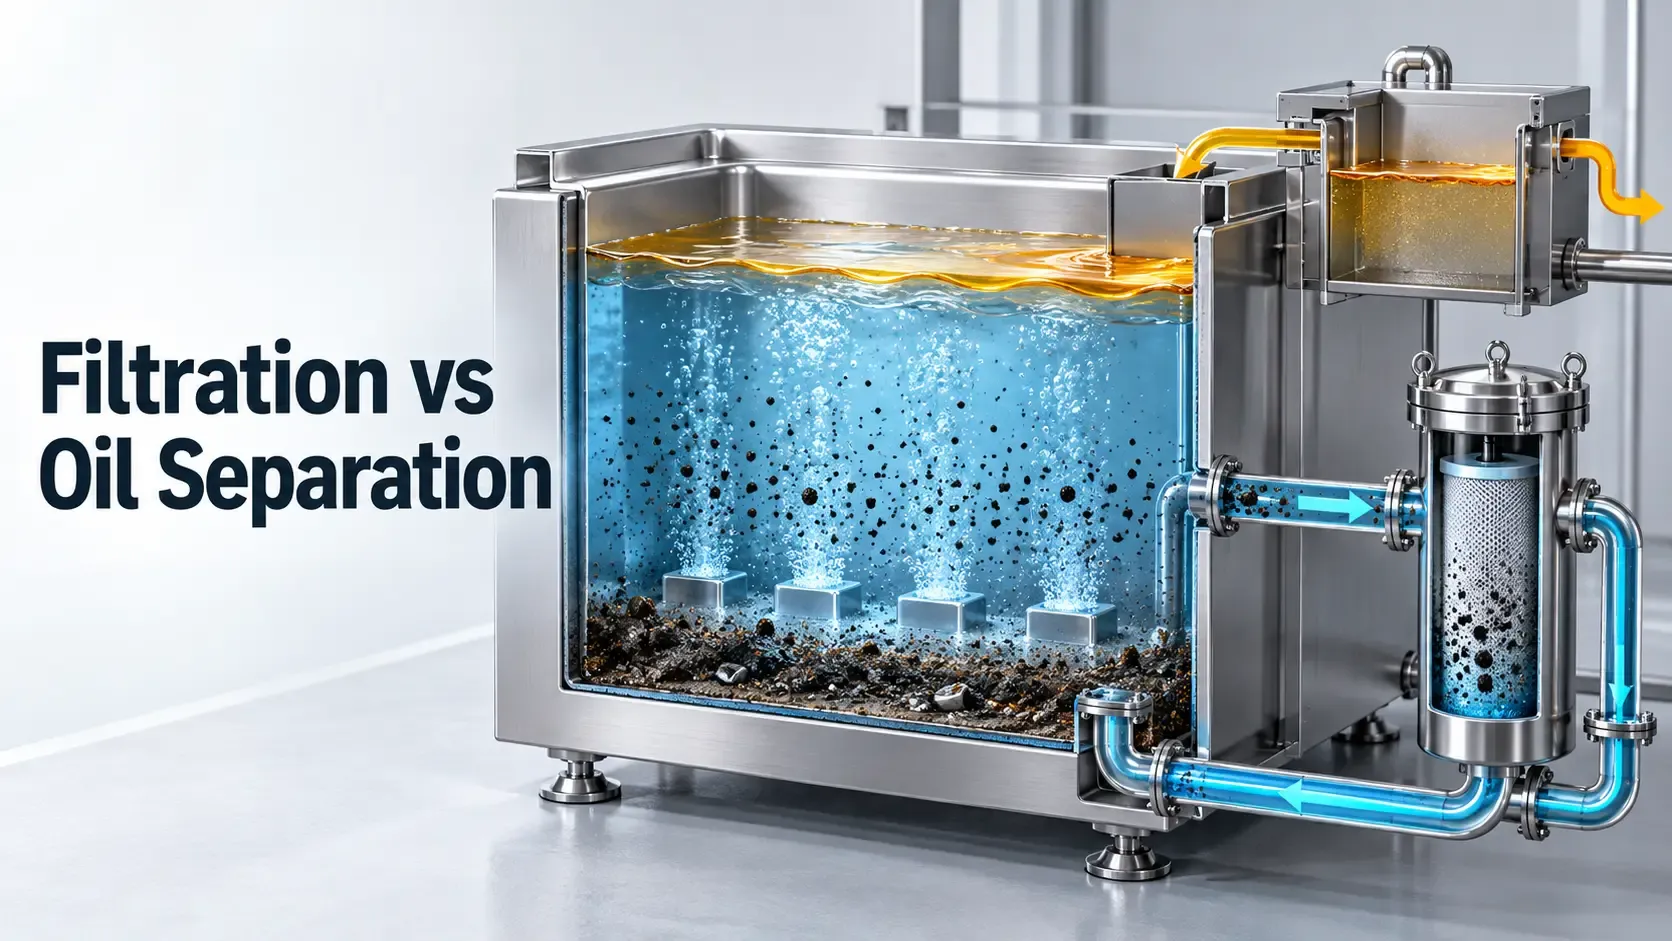
- using filtration where appropriate
- reducing batch load
- separating washing and rinsing
6. Slow Drying Can Leave Water Marks
Even after a good wash and rinse, poor drying can leave marks.
Water droplets have surface tension. If parts are left to air-dry slowly, droplets can remain on flat surfaces, edges, holes, and corners. As the water evaporates, dissolved minerals, detergent traces, or loosened contamination can concentrate into visible rings, spots, or white marks.
This is especially important for:
- flat parts
- blind holes
- threaded holes
- polished surfaces
- parts with grooves or recesses
- metal parts prone to oxidation
Slow drying can also increase rust risk for ferrous metals.
Possible improvements include:
- draining parts at an angle
- using clean compressed air where appropriate
- adding a drying step
- reducing trapped water in holes
- using a final rinse suitable for the required finish
- drying parts immediately after rinsing
- considering air knife or hot-air drying for production processes
If water marks are the main issue, changing ultrasonic frequency or power will not solve the problem. The drying process needs attention.
7. Chemical Etching Is Not Residue
Sometimes the “white residue” is not residue at all. It may be surface reaction, etching, oxidation, or discoloration.
This is more likely when the problem appears only on certain materials or finishes.
Materials that may require caution include:
- aluminum
- zinc
- magnesium
- plated parts
- polished surfaces
- coated parts
- anodized parts
- delicate decorative finishes
If the white mark does not wipe off and the surface looks dull, frosted, or permanently changed, it may be chemical etching rather than removable residue.
This can happen when the cleaning chemistry, concentration, temperature, or exposure time is not compatible with the material.
Soft metals such as aluminum and zinc alloys can be especially sensitive to unsuitable high-alkaline or aggressive cleaning solutions. In severe cases, the surface change may be permanent.
The cause may be:
- incompatible chemistry
- excessive concentration
- excessive temperature
- overly long exposure
- poor rinsing
- lack of corrosion protection
- reaction between material and contamination
If the surface has changed rather than simply being coated, do not keep increasing cleaning time. Review material compatibility and cleaning chemistry first.
For engine-related chemistry and metal compatibility, see Best Ultrasonic Cleaning Solution for Engine Parts.
8. The Original Contamination May Leave Its Own Residue
Some soils do not simply disappear when loosened.
Cutting fluids, polishing compounds, buffing residues, rust inhibitors, fluxes, and oily contamination can leave secondary residue if the process is incomplete.
For example:
- polishing compound may become pale or chalky
- detergent may emulsify oil but not fully remove it
- flux residues may require specific chemistry
- rust inhibitors may leave film
- heavy grease may need pre-cleaning before ultrasonic cleaning
If the residue matches the original contamination pattern, the cleaning process may need better chemistry, longer but controlled cleaning, pre-cleaning, or a separate rinse stage.
The key is to understand what the residue is, not simply run another cycle.
9. When White Residue Means You Need a Better Process
If white residue appears occasionally, simple changes may solve it.
But if it appears repeatedly in production, the cleaning process may need redesign.
You may need a better process when:
- residue appears on every batch
- parts require a clean cosmetic finish
- parts go to coating, plating, assembly, inspection, or packaging
- parts have blind holes, grooves, or complex geometry
- rinse water becomes dirty quickly
- operators cannot control detergent concentration
- bath contamination builds up quickly
- drying is inconsistent
- different materials react differently
In these cases, a single ultrasonic tank may not be enough.
A single tank often handles washing, but it cannot always control rinsing and drying. If white residue appears on every batch, the issue may be that the process is missing a controlled wash, rinse, and dry workflow.
The process may need:
- controlled detergent concentration
- cleaner rinse water
- separate rinsing tank
- final rinse
- filtration or oil separation
- drying stage
- better baskets or fixtures
- material-specific cleaning process
Troubleshooting Table
Symptom | Possible Cause | What to Check |
|---|---|---|
White film wipes off easily | Detergent residue | Concentration, rinsing, bath age |
Chalky spots after drying | Hard water minerals | Water quality, final rinse, drying speed |
Crusty residue in holes | Trapped detergent crystallizing | Part orientation, flushing, rinsing, drying |
Residue appears around threads | Solution trapped in thread roots | Rinse method, air blow-off, drainage |
Residue gets worse as bath ages | Redeposition | Bath contamination, filtration, bath replacement |
Surface looks etched or dull | Chemical etching or material reaction | Chemistry, temperature, time, material compatibility |
Parts feel slippery after cleaning | Oil or detergent film | Degreasing chemistry, rinse process |
White marks appear only on aluminum | Chemistry or oxidation issue | Aluminum compatibility, concentration, exposure time |
Residue appears after drying only | Water marks or dissolved solids | Drying method, rinse water, drainage |
How to Prevent White Residue After Ultrasonic Cleaning
To reduce white residue, focus on the full cleaning process.
Useful steps include:
- use a cleaning solution compatible with the part material
- follow detergent concentration instructions
- avoid guessing detergent dosage
- avoid repeatedly topping off the bath with concentrated detergent
- replace dirty bath solution before it becomes overloaded
- rinse parts with clean water after ultrasonic cleaning
- consider cleaner final rinse water when surface finish matters
- flush or drain blind holes, threads, and internal channels
- avoid letting parts dry with dirty solution on the surface
- dry parts promptly and evenly
- use filtration or oil separation when cleaning oily parts repeatedly
- test sensitive materials before production cleaning
White residue is usually a process control issue, not just a machine issue.
What Information to Send Sonixmax for Diagnosis
If you are trying to solve white residue after ultrasonic cleaning, send the following information:
Information | Why It Matters |
|---|---|
Part material | Helps evaluate chemical compatibility |
Surface finish | Shows whether residue or surface reaction is more likely |
Contamination type | Helps identify whether original soil is leaving residue |
Cleaning solution | Helps check concentration and compatibility |
Mixing ratio | Helps identify over-concentration |
Water source | Helps evaluate mineral spots |
Rinsing method | Shows whether detergent is being removed |
Drying method | Helps diagnose water marks or oxidation |
Photos before and after drying | Helps identify when residue appears |
Bath age and workload | Helps judge redeposition risk |
Whether residue wipes off | Helps distinguish removable film from chemical etching |
Need Help Solving White Residue After Ultrasonic Cleaning?
If your parts show white residue, water marks, powdery film, cloudy stains, or crusty deposits after ultrasonic cleaning, send Sonixmax your part material, contamination type, cleaning solution, rinsing method, drying method, and photos.
Sonixmax can help evaluate whether the issue is related to detergent concentration, water quality, bath contamination, rinsing, drying, material compatibility, or equipment process design.
If white residue appears repeatedly in production, the problem may not be the ultrasonic cleaner alone. Your process may need a more controlled wash, rinse, and dry workflow.
The goal is not only to remove visible residue. The goal is to build a stable cleaning process that produces repeatable results.