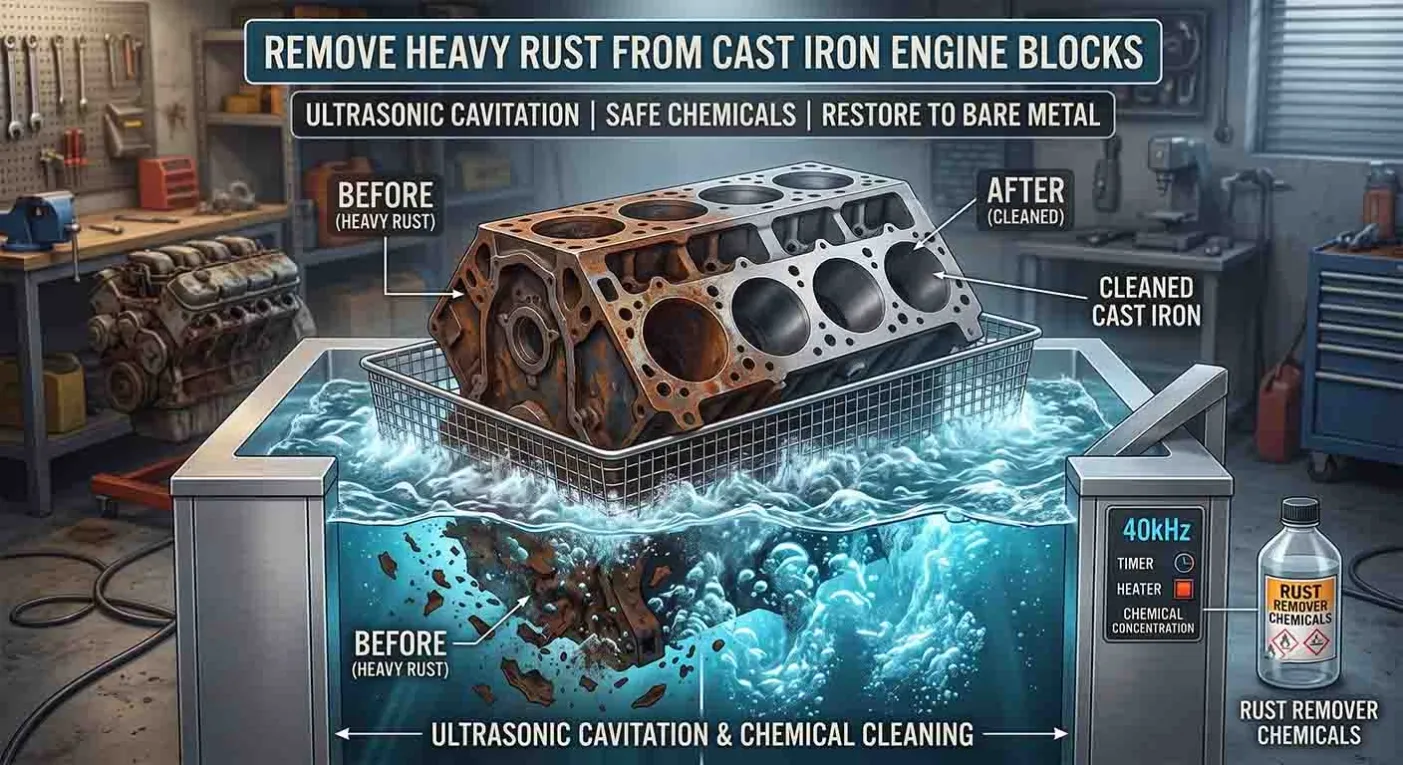
Aug 17, 2026Ultrasonic Cleaning Solutions
How to Safely Use an Ultrasonic Carburetor Cleaner (Without Ruining the Aluminum)
Learn how to safely use an ultrasonic carburetor cleaner without ruining the aluminum. Discover the right chemicals, 40kHz frequency, and temperature settings.
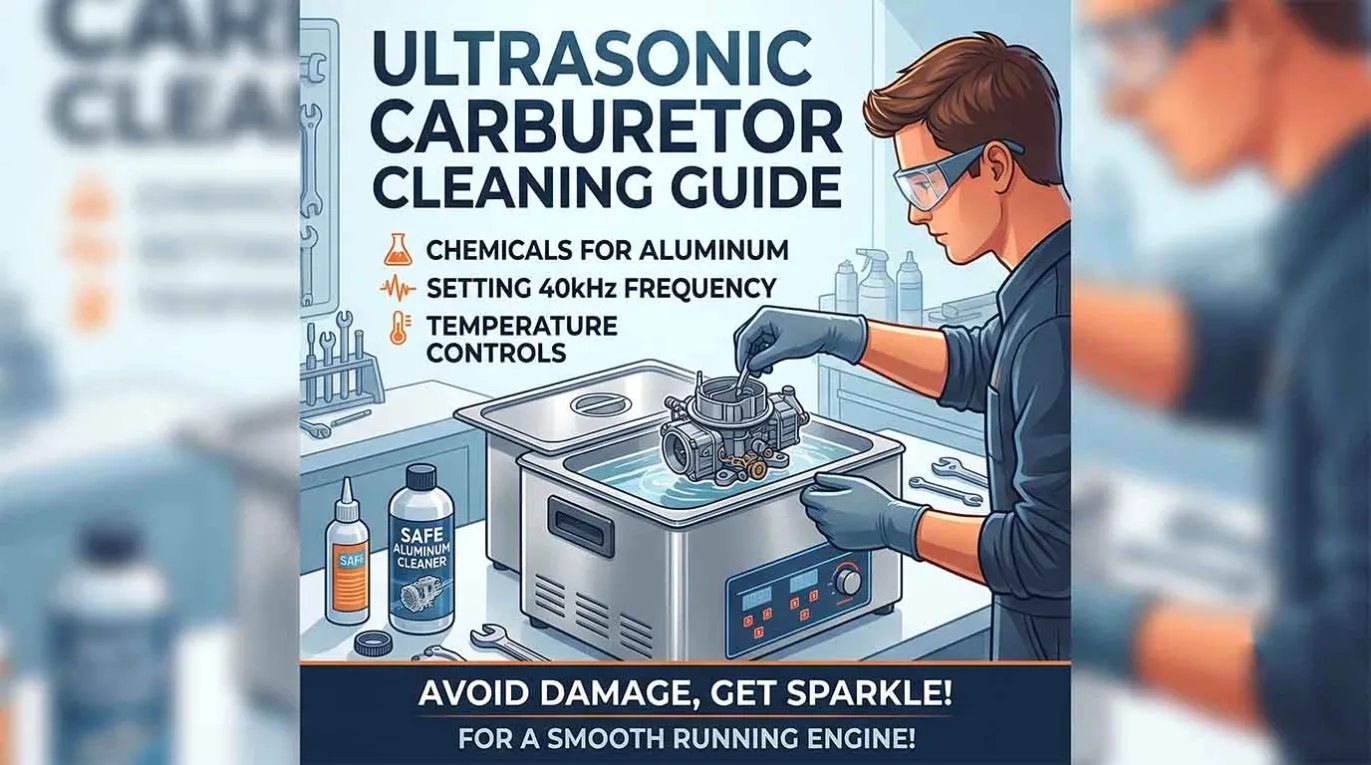
If your shop specializes in rebuilding classic cars, motorcycles, or small engines, you know that carburetors are the heart of the machine. Over time, they get clogged with sticky fuel varnish, ethanol residue, and hard carbon deposits.
While manual cleaning with toxic aerosol sprays and wire brushes is tedious and often fails to clear microscopic jets, an industrial ultrasonic cleaner can make a carburetor look and perform like brand new in 15 minutes.
However, there is a catch: Carburetors are made of delicate aluminum and zinc alloys. If you use the wrong settings or chemicals in your ultrasonic tank, you can permanently ruin a rare, expensive carburetor. In this guide, we will show you the exact steps to clean carburetors safely and effectively.
Why Carburetors are a Nightmare to Clean Manually
A carburetor is essentially a solid block of metal drilled with dozens of microscopic blind holes, emulsion tubes, and idle jets.
- The Problem with Sprays: Spraying carb cleaner into these holes often just pushes the dirt deeper into the internal passages, causing the engine to run lean or stall.
- The Ultrasonic Advantage:hen these bubbles implode, they help pull varnish and dirt out of the jets, supporting more stable fuel flow. Ultrasonic cavitation creates microscopic bubbles that penetrate every single hidden channel. W
3 Golden Rules for Safe Ultrasonic Carburetor Cleaning
To avoid turning a beautiful vintage carburetor into a pitted, black piece of scrap metal, you must follow these three rules:
Rule 1: Choose the Right Chemistry (No Strong Alkalines!)
What liquid should you use in an ultrasonic cleaner for carburetors? This is where 90% of mechanics make a fatal mistake.
WARNING: Never use heavy-duty cast iron degreasers (high pH/caustic solutions) on carburetors. Strong alkaline chemicals can quickly react with aluminum and zinc, turning the metal dark gray or black and causing surface pitting.
The Solution: You must use a mild, non-caustic, aluminum-safe ultrasonic cleaning solution. (For a complete breakdown of which chemicals to use for different metals, read our guide: Best Ultrasonic Cleaning Solution for Engine Parts).
Rule 2: Use the Correct Frequency (40kHz is Safer)
Can an ultrasonic cleaner damage an aluminum carburetor? Yes, if the frequency is too low. While 28kHz is the golden standard for heavy cast iron V8 engine blocks, it can be too aggressive for delicate carburetor components.
For carburetors, a 40kHz frequency is highly recommended. It produces smaller, gentler cavitation bubbles that can easily penetrate the tiny idle jets without eroding the soft aluminum surface. (Learn more about the science of frequencies here: What Frequency is Best: 28kHz vs 40kHz).
Rule 3: Do Not Overheat the Solution
Heat is necessary to melt fuel varnish, but too much heat accelerates chemical reactions. Keep your ultrasonic cleaner's heater set between 50°C and 60°C (122°F - 140°F). Anything hotter increases the risk of oxidizing the aluminum. (For more details on time and heat, check our Optimal Temperature & Time Settings Guide).
The Step-by-Step Cleaning Process
- Complete Disassembly: Remove all rubber O-rings, plastic floats, and gaskets. While ultrasonic waves won't hurt them, the cleaning chemicals might degrade the rubber over time.
- The Wash Cycle: Place the disassembled parts in the stainless steel basket. Run the ultrasonic cleaner for 10 to 15 minutes.
- The Crucial Rinse: Do not let the parts air dry with the chemical solution still on them! Immediately rinse the carburetor thoroughly with clean water to neutralize the chemicals.
- Dry and Blow Out: Use compressed air to blow out all the jets and passages, ensuring no water is left behind.
Equip Your Rebuild Shop with Sonixmax
Stop wasting hours scrubbing delicate parts. At Sonixmax, we offer a range of ultrasonic cleaners perfect for carburetor rebuilding.
Whether you need a precision Benchtop Ultrasonic Cleaner for motorcycle carbs, or a larger Dual-Frequency (28kHz/40kHz) Industrial Tank that can handle both heavy engine blocks and delicate aluminum parts, we have the perfect machine for your shop.