Aug 20, 2026Ultrasonic Cleaning Technology
Ultrasonic Cleaner Temperature and Time Settings for Engine Parts
Learn practical ultrasonic cleaner temperature and cleaning time starting ranges for steel, cast iron, and aluminum engine parts, with key material and process considerations.
Choosing the right ultrasonic cleaning temperature and cycle time is not simply a matter of setting the tank hotter or running the machine longer.
For engine parts, the best starting settings depend on the part material, contamination type, cleaning chemistry, surface condition, and required cleaning result. Steel components covered with heavy grease can tolerate a different process from polished aluminum or mixed-material assemblies.
This guide provides practical starting temperature and cleaning-time ranges for process testing, along with the factors you should check before adjusting the cycle.
Important: The ranges below are starting points for process testing, not universal or guaranteed cleaning settings. Always confirm compatibility with the part material and follow the cleaning-chemical supplier's recommended concentration and temperature range.
Quick Answer: What Temperature and Time Should You Start With?
For many general aqueous ultrasonic cleaning applications on metal parts, 50–60°C (122–140°F) is a practical starting temperature range. A 5–10 minute test cycle can then be used to evaluate the cleaning result before increasing time or changing other process conditions.
However, this should not be treated as a universal setting.
Aluminum and sensitive surfaces may require lower temperatures or shorter first-test cycles, while steel parts with heavier grease or carbon deposits may require a warmer bath, longer cycles, different chemistry, or multiple inspected cleaning cycles.
In practice, start with the lowest effective temperature and shortest practical cycle, inspect the result, and adjust one process variable at a time.
Why Temperature Changes Ultrasonic Cleaning Performance
Heating the cleaning solution can improve ultrasonic cleaning in several ways.
A warmer bath can reduce the viscosity of oils and grease, improve detergent activity, and help loosen contamination from metal surfaces. This is one reason heated ultrasonic cleaners are commonly used for engine components, machined parts, and maintenance cleaning.
But higher temperature is not automatically better.
Excessive heat can increase the aggressiveness of some cleaning chemicals and may contribute to staining, discoloration, or etching on sensitive metals. The detergent itself may also have a defined operating-temperature range.
For many aqueous cleaning processes, a moderate heated range is therefore a better starting point than simply operating the tank as hot as possible.
Temperature Settings by Material
Cast Iron and Steel Engine Parts
Cast iron, carbon steel, and many heavy steel engine components can generally tolerate a warmer cleaning process than sensitive non-ferrous metals.
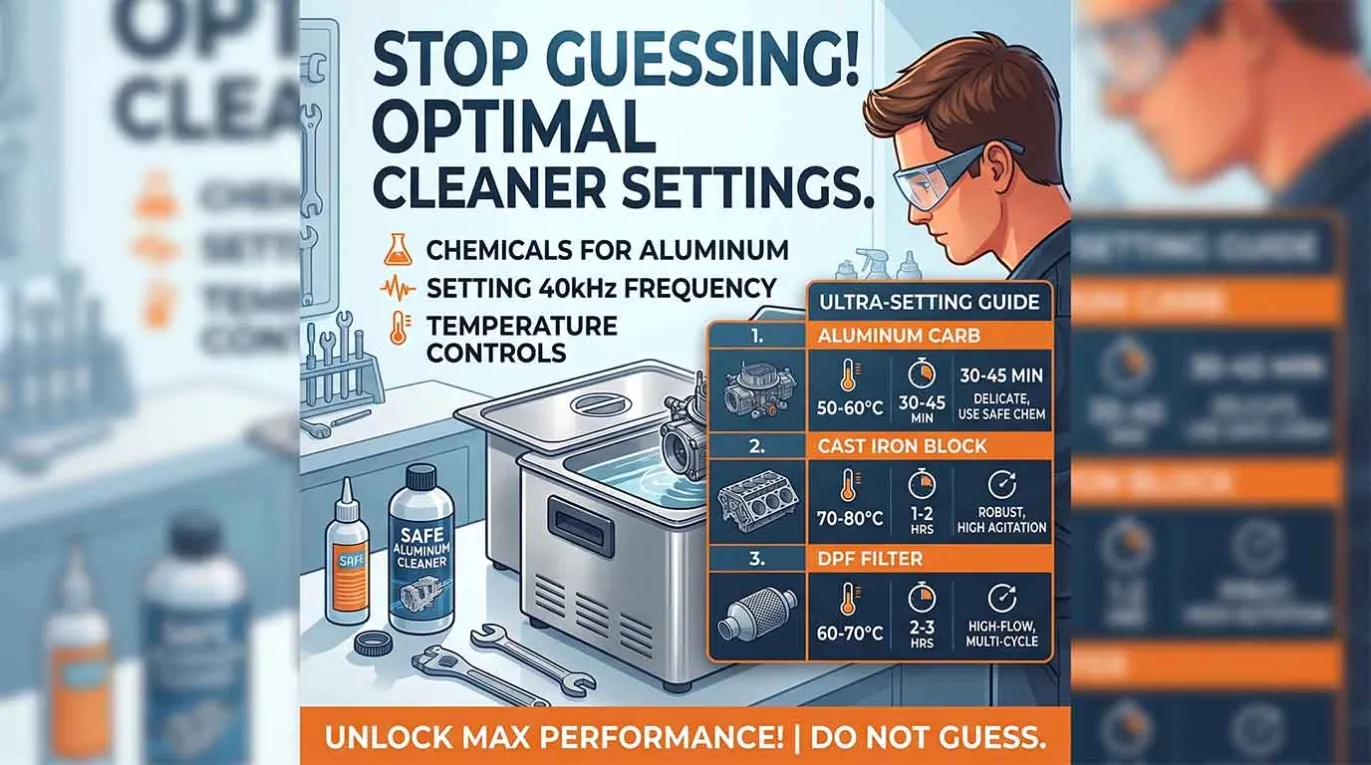
For parts contaminated with oil, grease, and normal workshop residue, a starting range around 50–70°C (122–158°F) with an initial 5–15 minute cycle can be evaluated.
The final setting still depends on:
- detergent chemistry and concentration;
- contamination thickness;
- part geometry;
- batch loading;
- bath condition;
- required cleanliness.
Ferrous parts should also be rinsed and dried promptly when the process requires it, particularly where flash rust is a concern.
Aluminum Engine Parts
Aluminum needs more conservative process control.
For machined aluminum parts with light oil, coolant, or similar contamination, 40–60°C (104–140°F) is a more appropriate general testing range.
A 3–10 minute initial test cycle is a practical starting approach for ordinary machined aluminum, provided the cleaning chemistry is explicitly compatible with aluminum.
The chemistry matters just as much as the tank temperature. Some strongly alkaline cleaners suitable for ferrous metals can attack non-ferrous materials, so never assume that a cleaner used successfully on steel is automatically suitable for aluminum.
Polished or Sensitive Aluminum
Polished, billet, or appearance-sensitive aluminum deserves an even more conservative first test.
A useful initial approach is approximately 49–60°C (120–140°F) with a 1–3 minute first test cycle, followed by inspection before extending the cleaning time.
Check the surface for staining, dulling, discoloration, or etching before processing an entire batch.
If surface appearance matters, test a sample or non-critical part first.
Mixed-Material Assemblies
There is no reliable universal temperature and time setting for assemblies containing different metals, coatings, seals, plastics, adhesives, or inserts.
The cleaning process should be based on the most sensitive material in the assembly.
Where possible, remove sensitive components before ultrasonic cleaning. If the material combination is uncertain, begin with a short, conservative test cycle and verify compatibility before batch production.
Recommended Starting Temperature and Time Settings
The table below is intended as a process-development starting point, not a final recipe.
Part / Material | Typical Contamination | Starting Temperature | Starting Time | Key Consideration |
|---|---|---|---|---|
General metal parts | Light oil, coolant, loose residue | 50–60°C | 5–10 min | Follow detergent instructions and inspect the result |
Cast iron / steel | Oil, grease, workshop contamination | 50–70°C | 5–15 min | Rinse and dry as required; consider flash-rust protection |
Cast iron / steel | Heavy carbon or baked-on residue | 60–70°C if chemistry allows | 10–15 min cycles | Inspect between cycles rather than assuming one long cycle is better |
Aluminum | Light oil, coolant, machining residue | 40–60°C | 3–10 min test | Use aluminum-safe chemistry |
Polished / sensitive aluminum | Light residue | 49–60°C | 1–3 min first test | Inspect for staining, dulling, or etching before extending |
Mixed-material assemblies | Mixed / uncertain contamination | Based on the most sensitive material | Short test first | No universal setting; validate compatibility |
These ranges should help establish an initial test condition. They should not replace process validation for your actual parts.
Cleaning Time by Contamination Type
Temperature is only one side of the process. Cleaning time also depends strongly on what you are trying to remove.
Light Oil, Coolant, and Loose Residue
Fresh machining oil, coolant, dust, and loose workshop contamination usually require less exposure than aged grease or carbon.
A short initial cycle is normally preferable. Inspect the part after the first cycle rather than automatically extending the timer.
If the part is already clean, additional ultrasonic exposure adds no cleaning value.
Grease, Varnish, and Workshop Contamination
Heavier grease and aged residues may require more time, but increasing the timer should not be the first response to poor cleaning.
Before extending the cycle, check:
- whether the bath has reached the intended temperature;
- whether the cleaning solution is suitable and correctly concentrated;
- whether fresh solution has been degassed;
- whether the bath is overloaded;
- whether contamination has saturated the solution;
- whether the part orientation allows the liquid to reach blind holes and internal passages.
Carbon and Heavy Buildup
Heavy carbon, baked-on oil, and stubborn deposits often require more than simply increasing temperature and running one very long cycle.
For compatible steel or cast-iron parts, 10–15 minute inspected cycles can be a better process-development approach than assuming a single long exposure will produce the best result.
If contamination remains, evaluate:
- cleaning chemistry;
- bath condition;
- temperature;
- ultrasonic frequency and power;
- filtration;
- part orientation;
- whether another cleaning cycle is actually required.
This makes it easier to identify the process bottleneck instead of compensating for poor chemistry or a contaminated bath with excessive cleaning time.
If you are specifically cleaning diesel particulate filters, see our dedicated guide on how to clean DPF filters with an ultrasonic cleaner, because DPF cleaning should not be treated as a universal engine-parts cleaning process.
When Higher Temperature Is Not Better
If cleaning performance is poor, increasing the temperature may appear to be the easiest solution. But it can create new problems.
Higher temperatures may:
- increase the aggressiveness of some detergents;
- accelerate staining or etching of aluminum;
- affect coatings or sensitive surfaces;
- increase evaporation;
- make an unsuitable cleaning chemistry even more aggressive.
Aluminum is a particularly important example. A process that works well on cast iron may not be suitable for an aluminum cylinder head, carburetor body, or polished component.
The better approach is to find the lowest effective process window, rather than the highest temperature the machine can reach.
How Chemistry, Frequency, and Bath Condition Affect Cleaning Time
If a part is not clean after the expected cycle, time may not be the real problem.
Cleaning Chemistry
The cleaning solution must match both the contamination and the part material.
A detergent designed for heavy ferrous-metal contamination may be unsuitable for aluminum. Conversely, a mild solution may protect sensitive surfaces but require a different cleaning cycle.
Always check the chemical supplier's recommended:
- concentration;
- operating temperature;
- compatible materials;
- rinsing requirements.
If chemistry selection is still uncertain, see our guide to choosing an ultrasonic cleaning solution for engine parts.
Ultrasonic Frequency
Frequency changes how cavitation interacts with the part surface.
Lower frequencies generally produce more aggressive cavitation, while higher frequencies are often selected when gentler cleaning or finer surface treatment is required.
For engine components, frequency should therefore be considered together with material, contamination, geometry, and required finish—not selected independently from temperature and time.
Bath Condition
As oil, grease, carbon, and particles accumulate in the tank, cleaning performance can become less consistent.
If the solution is heavily contaminated, simply increasing time may only hide the underlying problem.
For repeated batch cleaning, filtration and regular solution maintenance can help maintain a more stable process.
Degas the Bath Before Evaluating Your Settings
One practical detail can make temperature and time testing misleading: fresh cleaning solution contains dissolved gas.
Dissolved gas can reduce effective cavitation. That means a new bath may appear to clean poorly even when the selected temperature and time are reasonable.
For fresh or newly changed cleaning solution, a 5–10 minute degassing period can be used before normal processing, depending on the machine and operating instructions.
When comparing test settings, keep bath preparation consistent. Otherwise, two identical temperature and time cycles may produce different results simply because one bath was properly degassed and the other was not.
When You May Need Rinsing, Drying, or Filtration
Temperature and time adjustments can improve the cleaning stage, but they cannot solve every process requirement.
A heated single-tank ultrasonic cleaner may be sufficient when the goal is straightforward batch cleaning and the parts can be rinsed or dried separately.
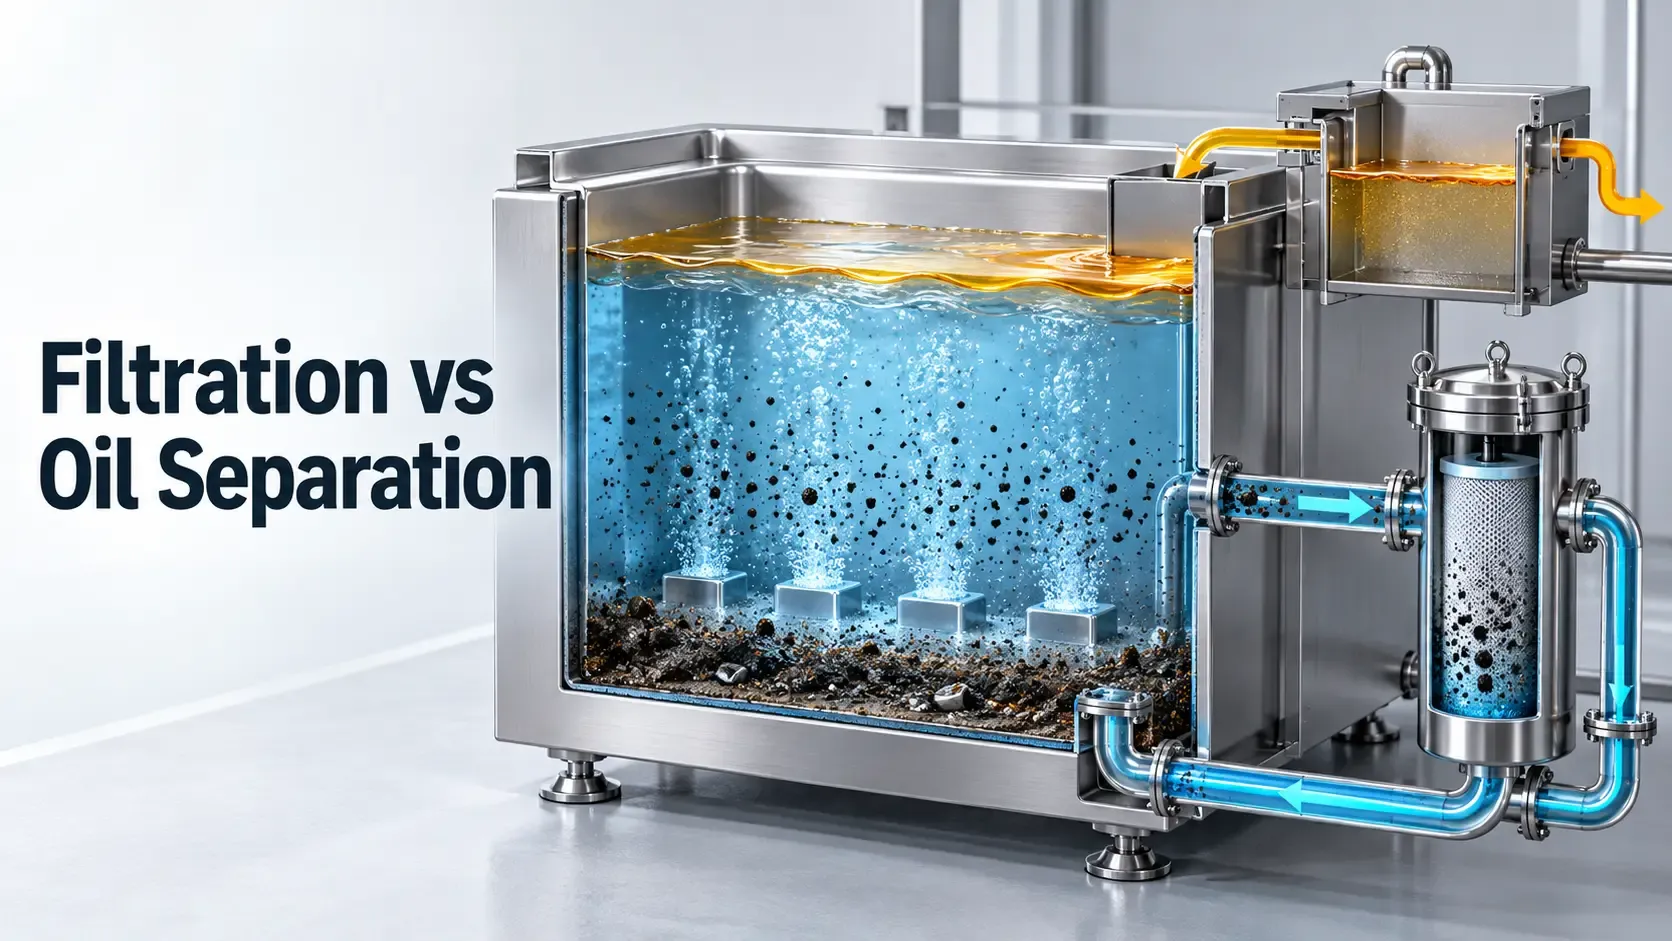
Consider adding filtration when repeated batches release significant oil, carbon, or particles into the bath.
A separate rinsing stage becomes more important when detergent residue must be removed before assembly, coating, inspection, or packaging.
A drying stage may be useful when moisture in blind holes, internal passages, or complex geometries creates production problems.
When cleaning, rinsing, and drying must be repeated consistently at higher throughput, a multi-stage ultrasonic cleaning system may be more appropriate than continually adjusting a single tank.
The goal is not to add more equipment than necessary. It is to match the process configuration to the required cleaning result.
Practical Setup Checklist Before Cleaning Engine Parts
Before starting a new batch, confirm:
- Part material: steel, cast iron, aluminum, or mixed materials?
- Surface condition: machined, polished, coated, or appearance-sensitive?
- Contamination: oil, grease, coolant, varnish, carbon, or particles?
- Cleaning chemistry: compatible with both the material and contamination?
- Temperature: within the chemical supplier's recommended range?
- Initial cycle time: short enough to inspect before extending?
- Bath condition: fresh, degassed, and not overloaded with contamination?
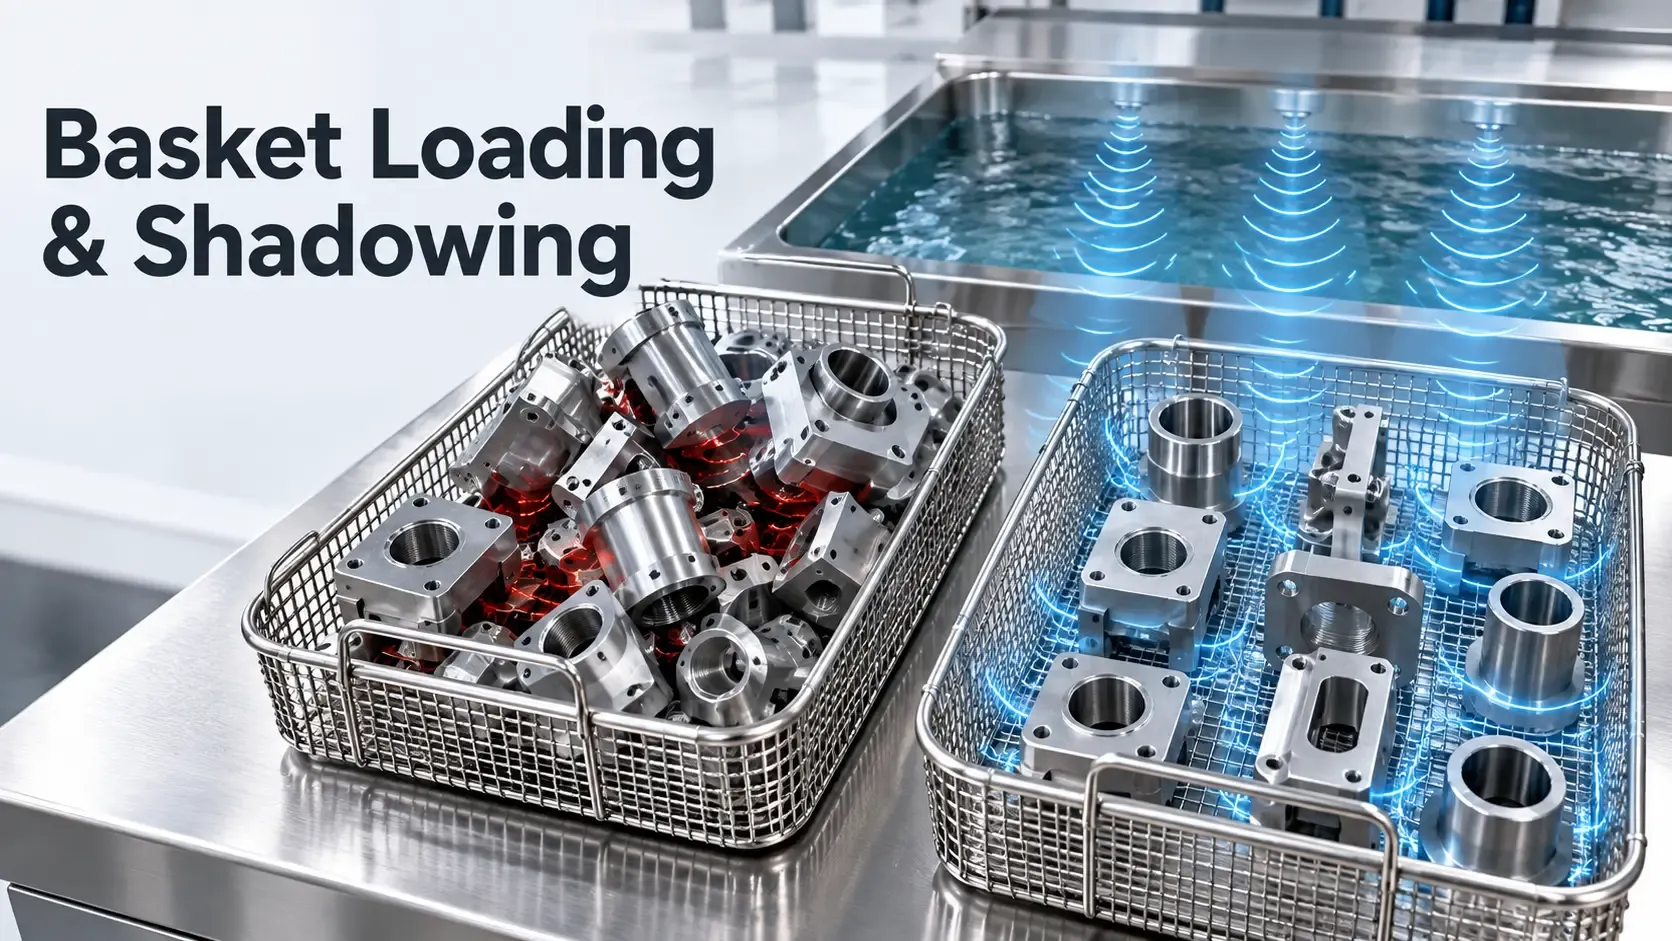
- Part loading: suspended in a basket or fixture rather than resting on the tank bottom?
- Post-cleaning: is rinsing, drying, or corrosion protection required?
- Cleaning target: visually clean, ready for assembly, coating, inspection, or another downstream process?
For an unfamiliar part, test one sample before committing a full production batch.
Choosing the Right Ultrasonic Cleaning Setup
Temperature and time are process settings. They cannot compensate indefinitely for an unsuitable cleaning system.
For relatively simple engine-part batch cleaning, a heated industrial ultrasonic tank may be enough.
If the bath becomes contaminated quickly, filtration may improve process consistency.
If the required result includes detergent removal and dry parts, a wash–rinse–dry configuration may be more appropriate.
For higher throughput or repeatable multi-stage processing, an automated or multi-tank system may be worth evaluating.
If you are still determining the appropriate equipment size and configuration, see our guide to selecting an industrial ultrasonic cleaner for engine parts.
The right configuration should therefore be selected from the complete cleaning requirement—not from tank capacity alone.
Need Help Evaluating Your Engine Parts Cleaning Process?
If you are unsure about the appropriate ultrasonic cleaner, tank size, heating range, filtration, rinsing, drying, or process configuration, send us:
- part photos;
- material;
- dimensions and weight;
- contamination type;
- parts per batch;
- current cleaning method;
- required cleaning result;
- any known chemistry or surface restrictions.
Send Your Parts & Cleaning Requirements and SonixMax can help evaluate a suitable ultrasonic cleaning process and equipment configuration.